before/after editing TUTU BABY | Nashville Child Photography Tutorial
(This post is best viewed from your desktop, where you can take advantage of the slider feature. When viewing on a mobile phone, you’ll find the after image on the top and the before image on the bottom.)
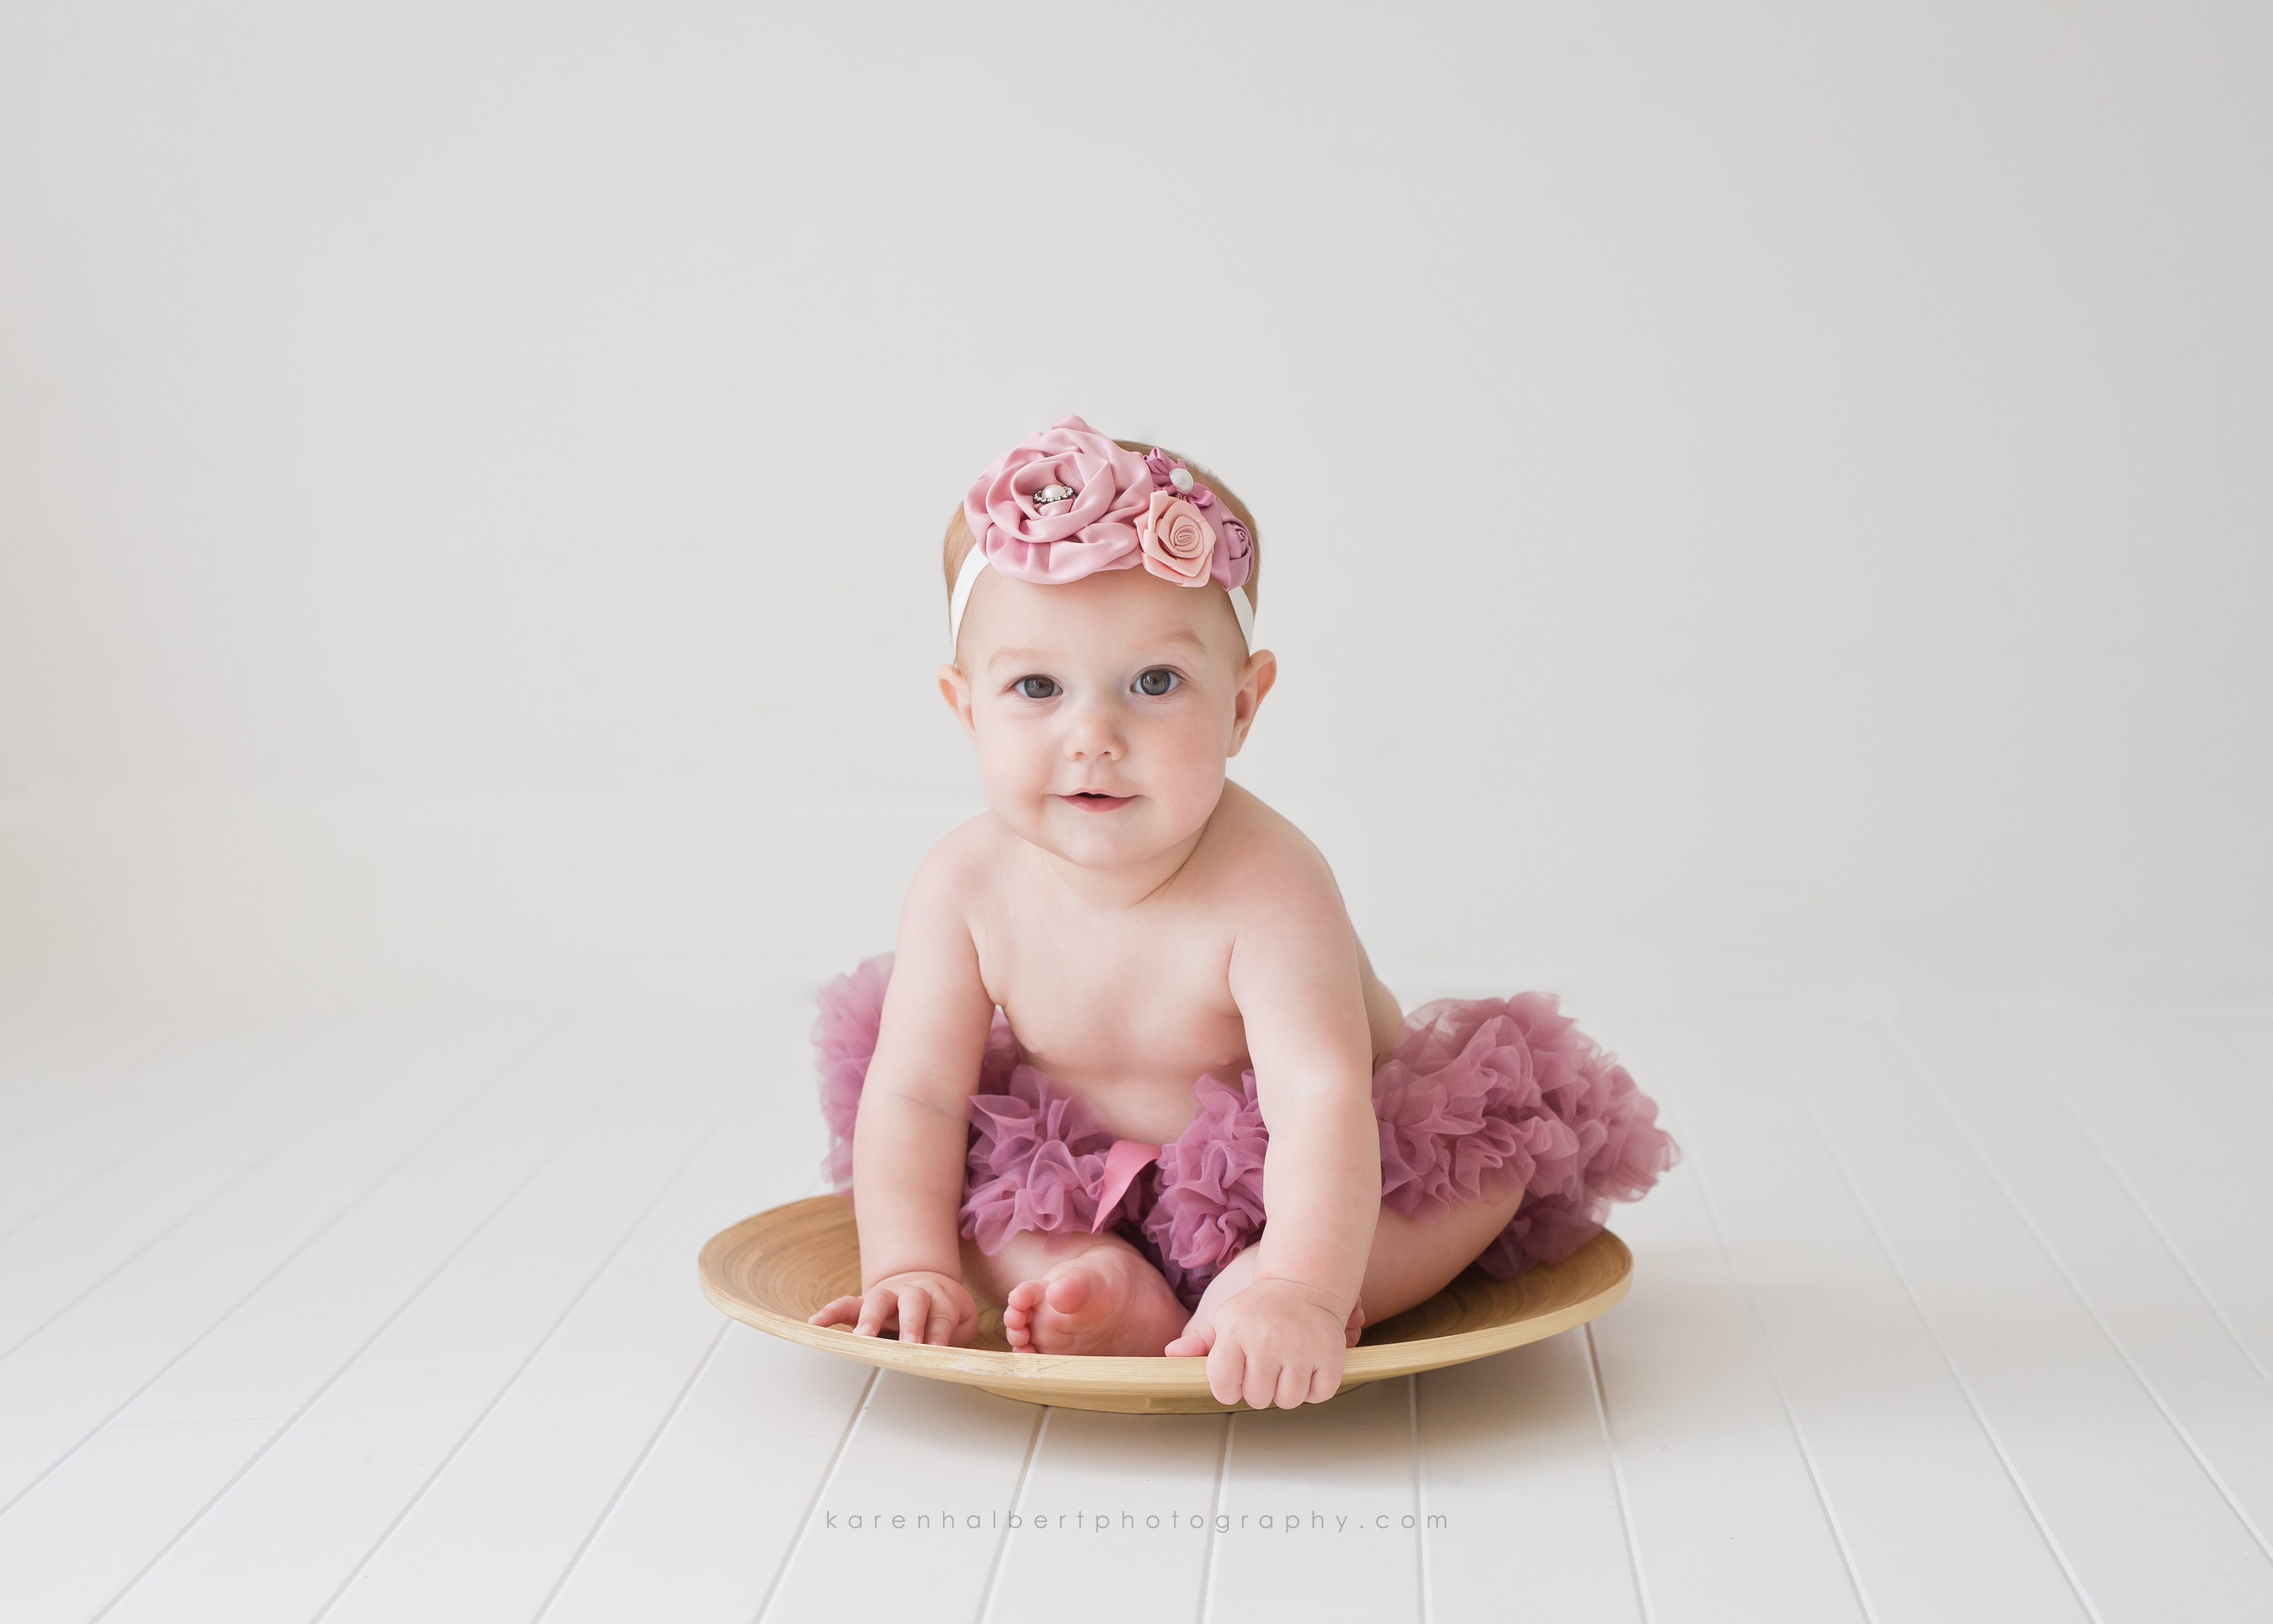
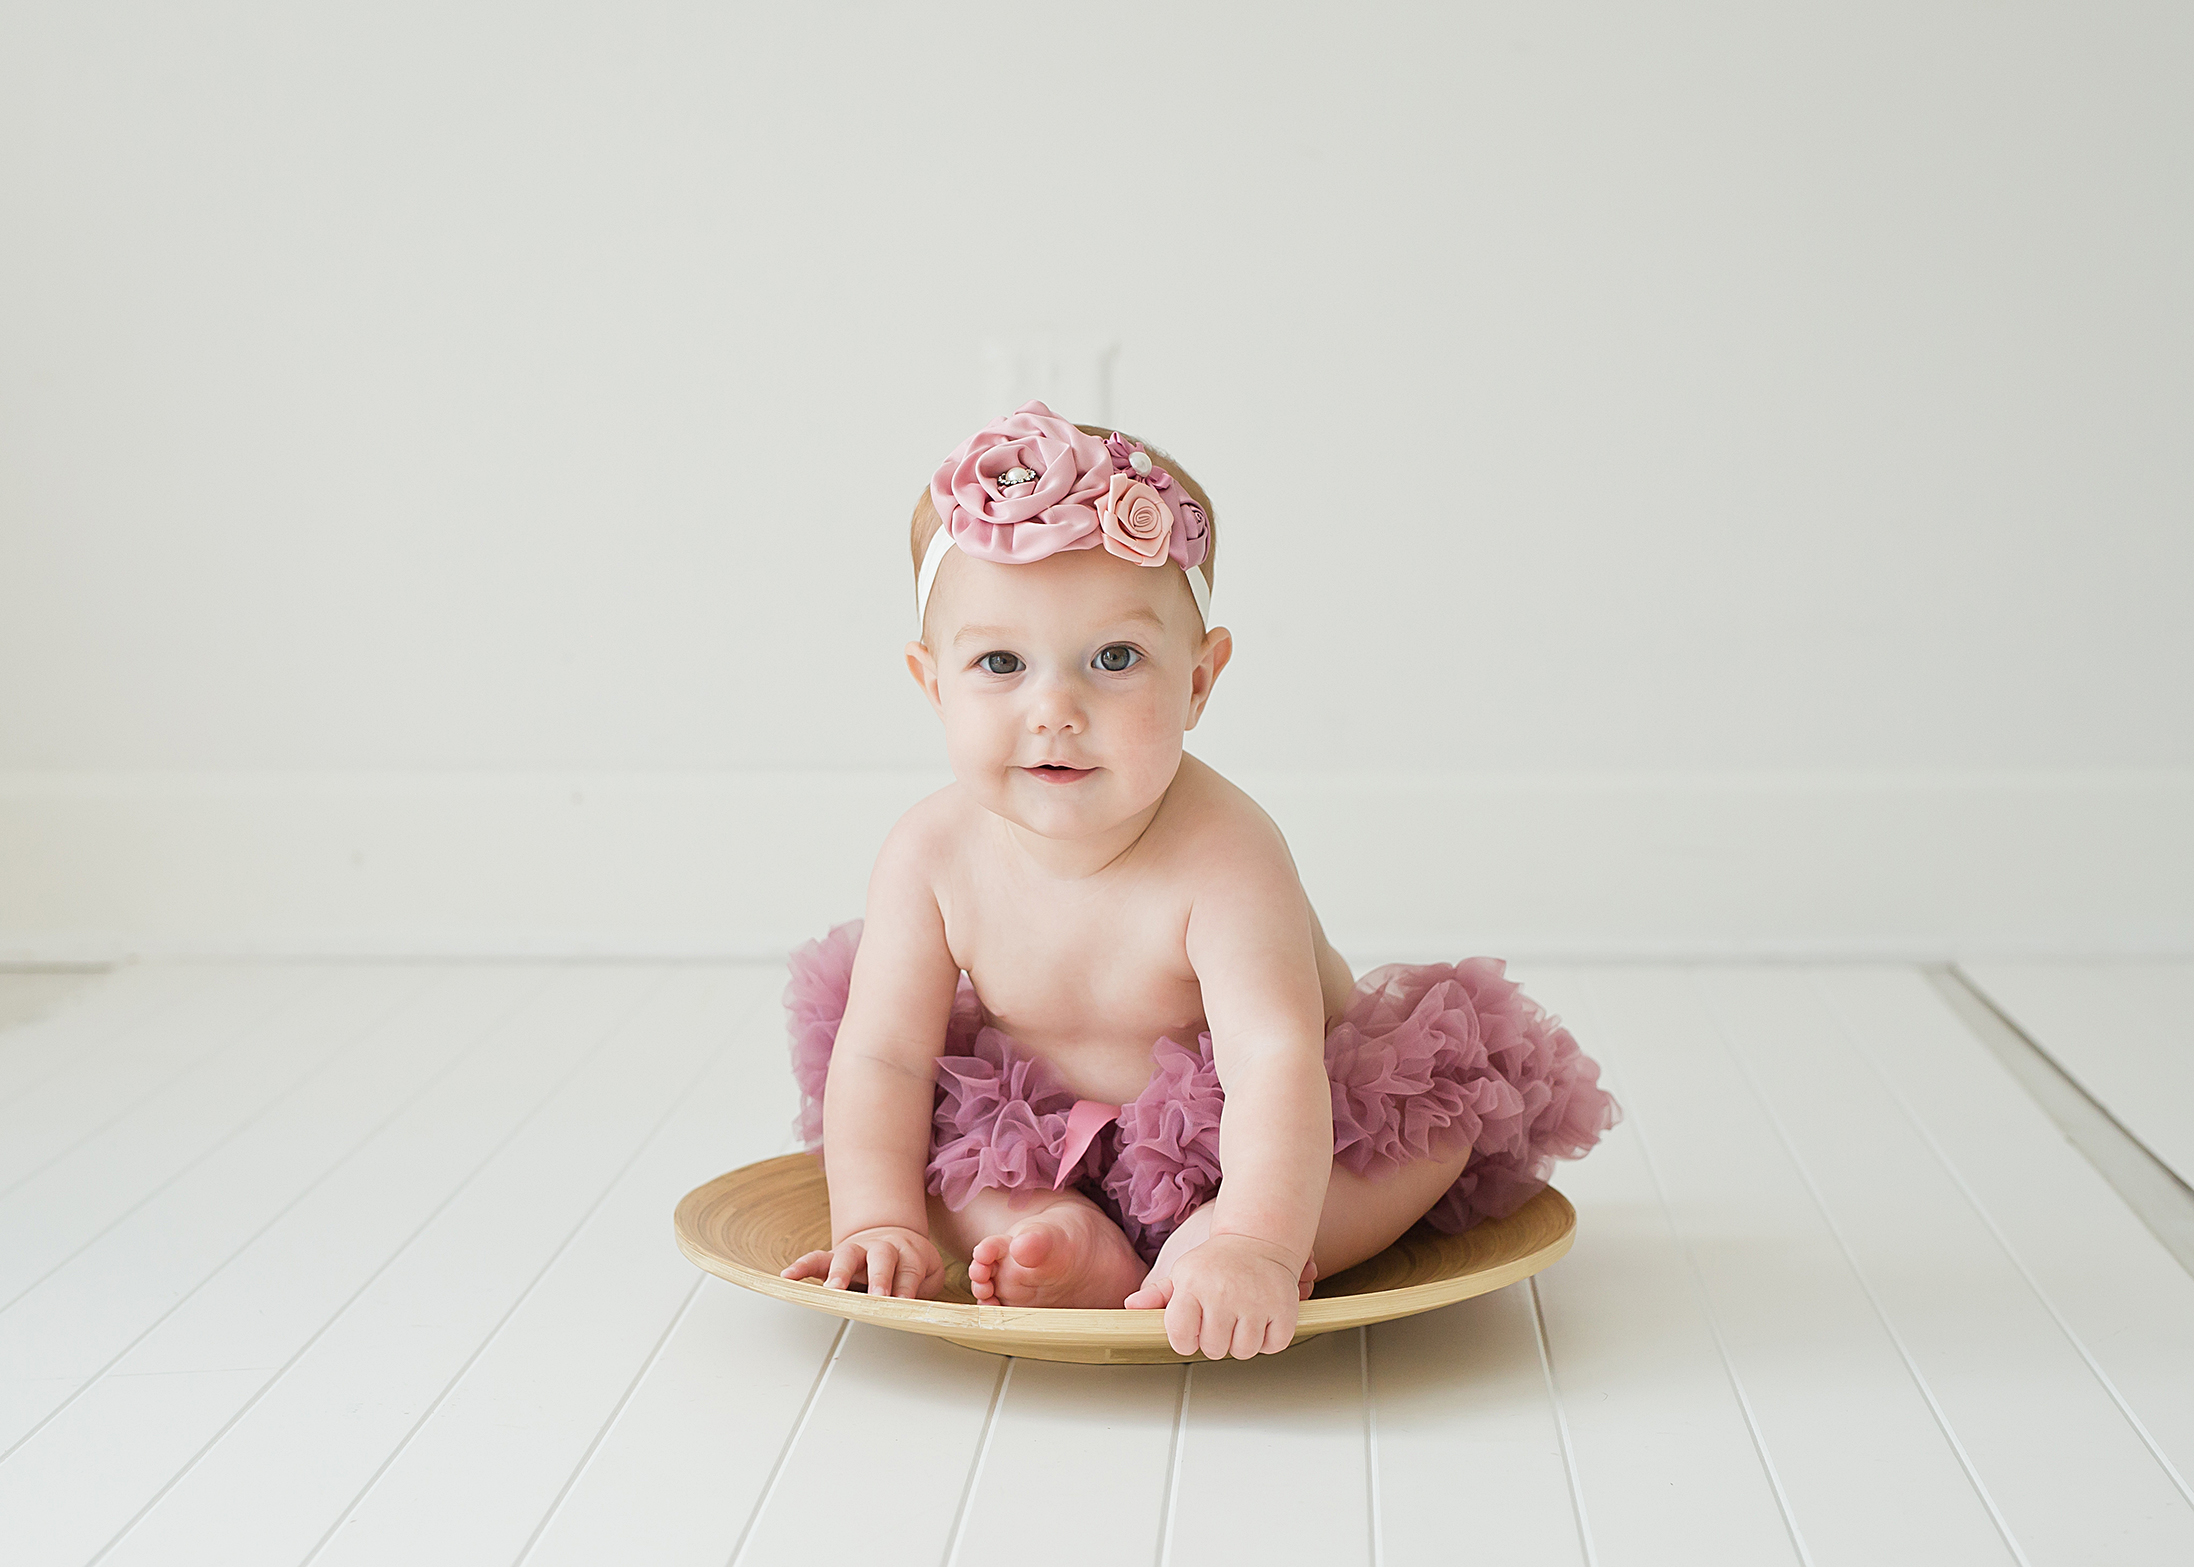
I am often asked how I edit my images so today I’m featuring sweet Sylvie, an 8 month old who visited the studio yesterday for her baby planner sitting session. This is my favorite image of the session and I’m sharing the before (on the left) and after (on the right) images with you. Move the slider to see either image in full.
I’m 90% Lightroom for my editing, so after shooting this session in the studio with my Canon 5D Mark III with Sigma Art 50mm lens with white balance set to Kelvin 5900 I uploaded the image into LR. I used the eye dropper tool to customize the white balance (using the white back wall as a set point) and then tweaked the image just a little with a preset that I made in Lightroom for studio images. The preset adds brightness, highlight recovery, fill light, black clipping, sharpening, luminance smoothing, clarity, slight noise reduction, and slight post crop vignette amount. I also shot this a little bit wider but cropped the SOOC image to match the final image so the before/after slider would work well.
After finishing my Lightroom edits, I opened the file into Photoshop and did a slight cloning to her under eye area, cloned her left cheek where she had an imprint from napping on mom’s shoulder just minutes before and worked on the background. I removed the covered switch plate, cloned the gaps in the floor and then lightened the baseboard and seam for a more seamless, dreamy look.
The entire process took under 5 minutes in Photoshop and my Lightroom preset did everything with one click. For more info or 1:1 mentoring, contact me. I’m happy to share what I know!